|
|
|
|
|
| Tips on Choosing the Right Glass Splashback for Your Kitchen Renovation |
|
 |
|
|
|
When it comes to glass splashbacks, have them installed by a professional.
Glass splashbacks are heavy and difficult to transport and carry, and if not handled correctly, may break, making it a costly DIY project. |
|
|
|
|
|
Glass splashbacks are easy to clean when compared to grout and tiles, especially close to the cooktop, where oil can make a mess.
When choosing your splashback, take into consideration the location of power points. To ensure you maximise the
clean-lines finish of glass, try to keep power points to side walls, where possible.
Ensure the splashback complies with the Australian Standard. It is recommended that the splashback is installed at least 50mm from the cooktop or cooking utensil, to prevent the chance of burning the paint. |
|
|
|
|
 |
|
Benchtops and overhead cupboards need to be completed before a glass splashback can be measured. This is to ensure you get a millimetre-perfect fit.
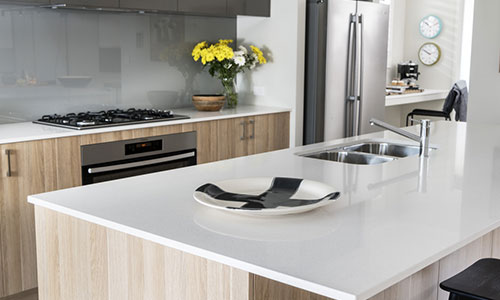
With a huge range of colours available, ensure you choose one to complement the benchtops and cupboards.
If installing lighting to overhead cupboards, consider a metallic paint, to get a "Hollywood" sparkle.
Consider a digital printed glass splashback, to make your renovation come to life. |
|
|
|
|
|